Printable self-adhesive vinyl has revolutionized the way we decorate our homes and businesses. This versatile material allows for the creation of custom wall murals, decals, and other decorative elements with stunning results. Whether you're a professional designer or a DIY enthusiast, this guide will walk you through the process of using printable vinyl to create your own unique wall art.
Choosing the Right Vinyl
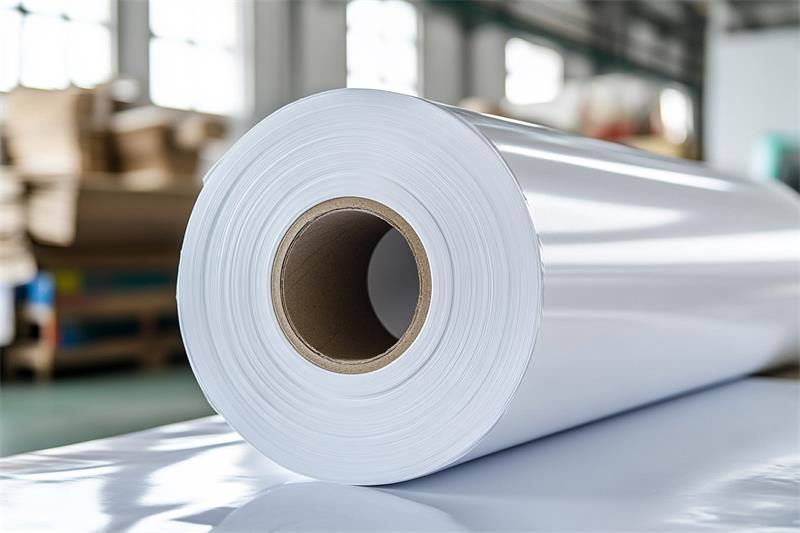
The first step in creating a successful wall mural or decal is selecting the appropriate printable self-adhesive vinyl. Consider the following factors when making your choice:
Adhesive Strength: Ensure that the vinyl has a strong adhesive that will adhere securely to your chosen surface.
Durability: For high-traffic areas, opt for vinyl with a durable finish that can withstand wear and tear.
Print Quality: The quality of the vinyl will directly impact the appearance of your final product. Choose a vinyl that produces vibrant colors and sharp images.
Surface Compatibility: Different types of vinyl are designed for specific surfaces. Ensure that the vinyl you choose is compatible with your wall or other surface.
Designing Your Image
Once you have selected the right vinyl, it's time to design your image. There are several software options available, both free and paid, that allow you to create custom designs. Consider the following tips when designing your image:
Scale: Ensure that your design is scaled correctly to fit the intended space.
Resolution: Use high-resolution images to ensure the best print quality.
Color Profile: Use a color profile that is compatible with your printer to achieve accurate color reproduction.
Simplicity: For complex designs, consider breaking them down into smaller, more manageable sections.
Printing Your Design
Once your design is complete, it's time to print it onto the printable vinyl. You can use a professional printing service or print the design yourself using a large-format printer. When printing, be sure to:
Calibrate Your Printer: Calibrate your printer to ensure accurate color reproduction.
Use High-Quality Ink: Invest in high-quality ink to achieve vibrant colors and sharp images.
Print Slowly: Printing slowly allows the ink to dry properly and prevents smudging.
Preparing the Surface
Before applying the vinyl to your wall, ensure that the surface is clean, dry, and smooth. Remove any dirt, grease, or imperfections that could affect the adhesion of the vinyl.
Applying the Vinyl
1. Measure and Cut: Carefully measure the wall space and cut the vinyl to the desired size.
2. Peel the Backing: Peel back a small portion of the backing paper to expose the adhesive.
3. Position the Vinyl: Carefully position the vinyl on the wall, ensuring it is straight and level.
4. Smooth Out Bubbles: Use a squeegee or a soft cloth to smooth out any bubbles or wrinkles.
5. Trim Excess Vinyl: Trim any excess vinyl with a utility knife.
Caring for Your Vinyl Mural or Decal
To ensure the longevity of your vinyl mural or decal, follow these care instructions:
Avoid Abrasive Cleaners: Use a mild cleaning solution and a soft cloth to clean the vinyl.
Protect from Direct Sunlight: Prolonged exposure to direct sunlight can cause the vinyl to fade.
Avoid High Heat: High heat can damage the vinyl, so avoid placing heat sources near the mural or decal.
Printable self-adhesive vinyl offers a versatile and affordable way to create custom wall murals and decals. By following these steps and selecting the right materials, you can create stunning and personalized decorations for your home or business.