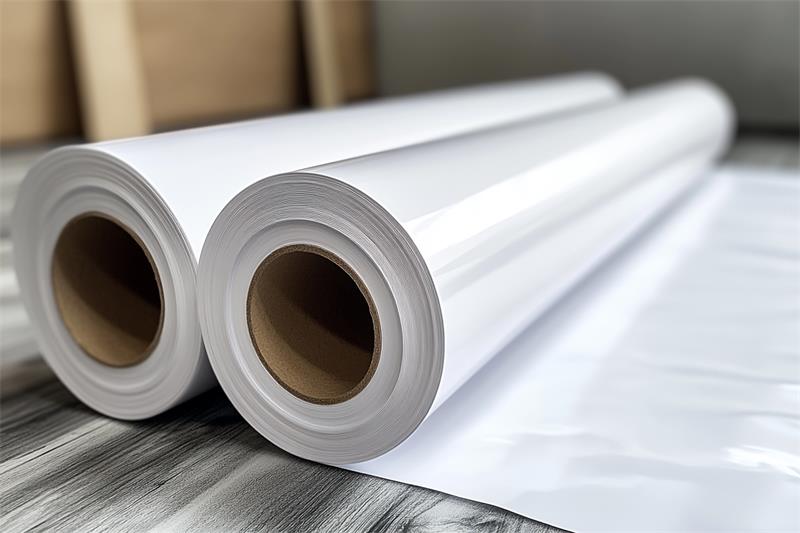
Printable self-adhesive vinyl is a versatile material used for a wide range of applications, from custom decals and stickers to signage and wall graphics. However, even with careful application, bubbles and wrinkles can sometimes appear, detracting from the finished look. This guide will explore common causes of these issues and provide effective solutions for troubleshooting them.

Understanding the Causes
Before diving into solutions, it's crucial to understand why bubbles and wrinkles occur. Here are some common culprits:
Improper Surface Preparation: Dust, dirt, grease, or textured surfaces can prevent the vinyl from adhering properly, leading to bubbles.
Trapped Air: Air trapped beneath the vinyl during application is a primary cause of bubbles.
Incorrect Application Technique: Applying the vinyl too quickly or unevenly can cause wrinkles and creases.
Low-Quality Vinyl: Thin or low-quality printable self-adhesive vinyl may be more prone to wrinkling and bubbling.
Temperature Fluctuations: Extreme heat or cold can cause the vinyl to expand or contract, leading to wrinkles.
Troubleshooting Bubbles
Small Bubbles:
For small bubbles, a simple solution is to use a squeegee or credit card to gently push the air towards the edge of the vinyl. Start from the center of the bubble and work outwards.
Larger Bubbles:
Larger bubbles may require a pinhole technique. Carefully prick the bubble with a fine needle or pin, allowing the air to escape. Then, use a squeegee to smooth the vinyl down.
Persistent Bubbles:
If bubbles persist, consider lifting the vinyl slightly in the affected area and reapplying it carefully, ensuring no air is trapped underneath.
Troubleshooting Wrinkles
Minor Wrinkles:
For minor wrinkles, try warming the vinyl with a hairdryer on a low setting. This can make the vinyl more pliable and easier to smooth out. Use a squeegee to gently work out the wrinkles.
Deep Wrinkles:
Deep wrinkles may require repositioning the vinyl. Carefully lift the vinyl from the affected area and reapply it, taking care to avoid trapping air.
Preventing Wrinkles:
To prevent wrinkles during application, ensure the surface is smooth and clean. Apply the vinyl slowly and evenly, using a squeegee to smooth it out as you go.
Tips for Successful Application
Surface Preparation: Thoroughly clean the surface with a mild detergent and allow it to dry completely. For textured surfaces, consider using a primer to create a smoother base.
Application Tools: Invest in quality application tools like a squeegee, application tape, and a ruler for precise placement.
Temperature Control: Apply the vinyl in a temperature-controlled environment to avoid extreme heat or cold.
Practice Makes Perfect: Practice applying printable self-adhesive vinyl on scrap material before tackling your final project.
Choosing the Right Vinyl
Selecting the right printable self-adhesive vinyl for your project can significantly reduce the risk of bubbles and wrinkles. Consider factors like:
Thickness: Thicker vinyl is generally more durable and less prone to wrinkling.
Adhesive Strength: Choose an adhesive strength appropriate for the surface you're applying it to.
Durability: Consider the environment where the vinyl will be used and choose a material that can withstand the conditions.
While bubbles and wrinkles can be frustrating, they are often preventable and solvable. By understanding the causes, using proper application techniques, and choosing the right printable self-adhesive vinyl, you can achieve professional-looking results. Remember, patience and practice are key to mastering vinyl application.
