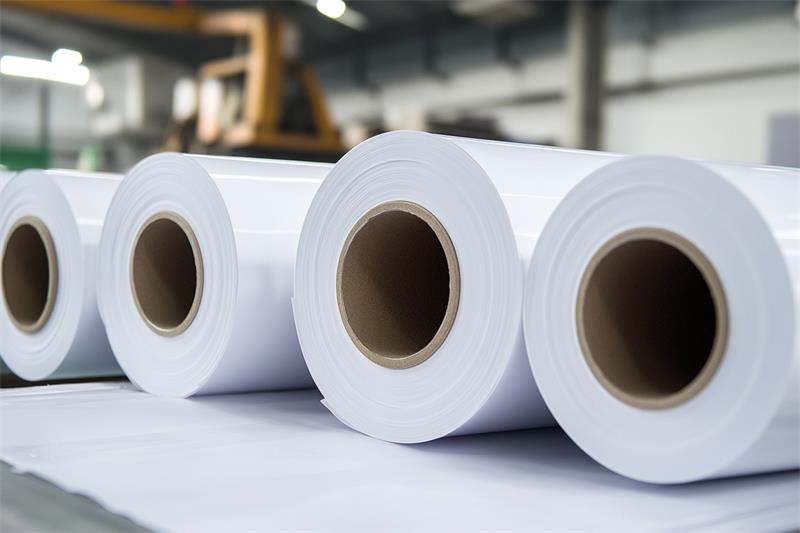
Printable self-adhesive vinyl has become increasingly popular for a wide range of applications, from vehicle wraps to wall graphics. However, even the most experienced installers can encounter challenges during the installation process. This article will discuss some of the most common issues and provide solutions to ensure a successful installation.

Understanding the Basics of Printable Self-Adhesive Vinyl
Printable self-adhesive vinyl consists of a printable face film, a pressure-sensitive adhesive, and a liner. The printable face film is the visible layer that accepts ink, while the adhesive allows the vinyl to adhere to various surfaces. The liner protects the adhesive until the vinyl is ready to be applied.
Common Installation Issues and Solutions
1. Bubbling:
Causes: Trapped air, improper application techniques, or surface imperfections.
Solutions:
Ensure the surface is clean, dry, and free of contaminants.
Use a squeegee to smooth out the vinyl and expel any air bubbles.
For stubborn bubbles, carefully pierce the bubble with a needle and smooth out the area.
2. Wrinkling:
Causes: Overstretching the vinyl, improper heat application, or uneven surface.
Solutions:
Avoid overstretching the vinyl.
Use a heat gun to soften the vinyl and make it more pliable.
Ensure the surface is flat and smooth.
3. Lifting at Edges:
Causes: Insufficient adhesion, contamination on the surface, or improper trimming.
Solutions:
Clean the surface thoroughly before application.
Use a heat gun to reactivate the adhesive and press down on the lifted edges.
Trim the vinyl close to the edges to prevent lifting.
4. Color Mismatch:
Causes: Incorrect color profile settings, variation in printing conditions, or fading due to UV exposure.
Solutions:
Use a calibrated color profile for accurate color reproduction.
Maintain consistent printing conditions.
Laminate the vinyl to protect it from UV rays and fading.
5. Adhesive Residue:
Causes: Low-quality adhesive, improper removal techniques, or environmental factors.
Solutions:
Use a high-quality adhesive remover designed for vinyl.
Test the adhesive remover on a small, inconspicuous area first.
Be patient and gently remove the residue.
Tips for Successful Installations
Surface Preparation: Ensure the surface is clean, dry, and free of contaminants.
Temperature and Humidity: Ideal conditions for vinyl application are a temperature between 65-75°F (18-24°C) and a relative humidity of 40-60%.
Cutting and Weeding: Use a sharp blade to cut the vinyl and remove the excess material.
Application Techniques: Use a squeegee to apply the vinyl, working from the center outwards to remove air bubbles.
Overlapping: Overlap the edges of the vinyl slightly to ensure a seamless finish.
Post-Installation Care: Protect the vinyl from excessive heat, moisture, and chemicals.
Choosing the Right Printable Self-Adhesive Vinyl
Selecting the appropriate printable self-adhesive vinyl is crucial for a successful installation. Consider the following factors:
Adhesive: Choose an adhesive that is suitable for the surface you are applying the vinyl to.
Thickness: The thickness of the vinyl will affect its durability and flexibility.
Finish: Matte, glossy, or textured finishes are available to suit different applications.
Color Range: Ensure the vinyl offers a wide range of colors to match your design.
By understanding the common issues associated with Printable self-adhesive vinyl installations and following these tips, you can achieve professional-looking results and extend the life of your graphics.
