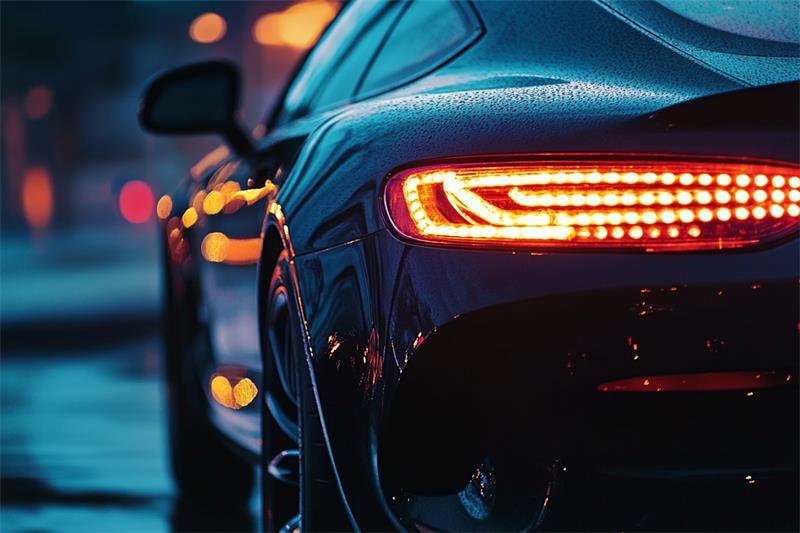
Car light films, also known as headlight tints or tail light tints, have become increasingly popular for customizing the appearance of vehicles. However, improper installation or exposure to various elements can lead to common issues. This article will discuss some of the most frequent problems encountered with car light film installations and provide solutions to help you maintain the look and functionality of your vehicle's lighting.
Common Issues and Solutions
1. Bubbles and Wrinkles
Cause: Inadequate cleaning of the surface before application, improper squeegee technique, or trapped air during installation.
Solution:
Reheat and Resqueegee: Use a heat gun to soften the film, gently lift the affected area, and resqueegee to remove the bubbles.
Needle Technique: For stubborn bubbles, use a fine needle to puncture the bubble and gently squeeze out the air.
2. Peeling and Lifting
Cause: Insufficient adhesion due to poor surface preparation, improper cleaning, or exposure to extreme temperatures.
Solution:
Clean and Reapply: Clean the area thoroughly, ensuring it's free of dirt and debris. Apply a small amount of adhesive promoter and reapply the film, pressing firmly to ensure good adhesion.
Edge Sealing: Use a heat gun to seal the edges of the film to prevent lifting.
3. Fading and Discoloration
Cause: Exposure to UV rays, harsh chemicals, or lowquality film materials.
Solution:
UV Protection: Choose highquality films with UV protection to minimize fading.
Regular Cleaning: Use mild soap and water to clean the film regularly and avoid harsh chemicals.
Replacement: If the film is severely faded, replacement may be necessary.
4. Yellowing
Cause: Exposure to heat, UV rays, or poor quality film materials.
Solution:
HighQuality Film: Choose films with a protective coating to prevent yellowing.
Regular Inspection: Inspect the film regularly and replace it if yellowing becomes excessive.
5. Cracking and Cracking
Cause: Exposure to extreme temperatures, improper installation, or damage from external factors.
Solution:
Replacement: Cracked or damaged film should be replaced to ensure proper lighting and visibility.
6. Reduced Light Output
Cause: Excessive tinting, poor quality film, or improper installation.
Solution:
Light Transmission: Choose a film with an appropriate light transmission percentage to ensure adequate visibility.
Professional Installation: Seek professional installation to ensure the film is applied correctly and does not obstruct light.
7. Interference with Electronic Components
Cause: Some films may contain metallic components that can interfere with electronic systems, such as adaptive headlights or automatic high beams.
Solution:
Consult Manufacturer: Consult the vehicle manufacturer or film manufacturer to determine compatibility.
Professional Installation: Seek professional installation to ensure proper compatibility.
Tips for Preventing Issues
Thorough Surface Cleaning: Ensure the surface is clean, dry, and free from contaminants before applying the film.
Proper Tools: Use the appropriate tools, such as a heat gun, squeegee, and razor blade, for a clean and precise installation.
HighQuality Film: Choose a highquality film with a strong adhesive and UV protection.
Professional Installation: For complex installations or to ensure the best results, consider hiring a professional.
Regular Maintenance: Regularly clean the film with mild soap and water to remove dirt and debris.
By following these guidelines and addressing issues promptly, you can help ensure the longevity and performance of your car light film installation. Remember, proper maintenance and care are essential for preserving the appearance and functionality of your vehicle's lighting.