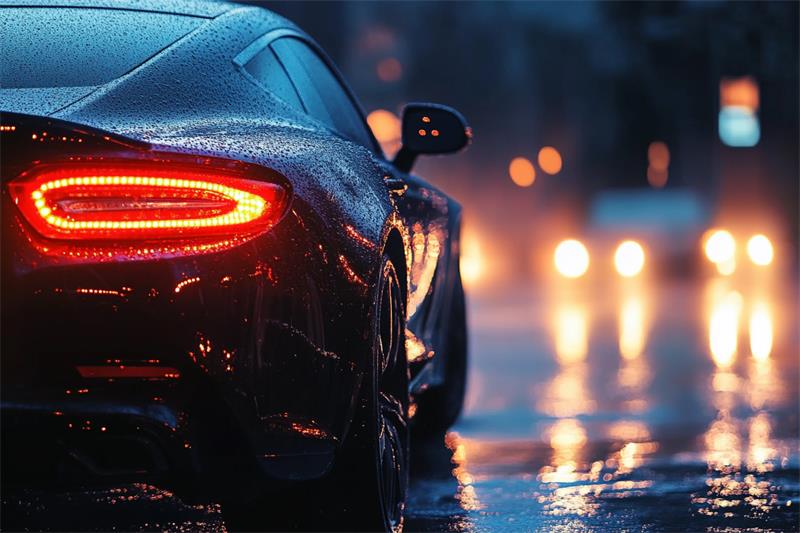
Car light films have become increasingly popular for customizing the appearance of vehicles and improving visibility. Whether you’re looking to tint your headlights, taillights, or fog lights, this step-by-step guide will walk you through the installation process.

Materials Needed:
Car light film kit
Isopropyl alcohol
Microfiber cloths
Squeegee
Heat gun
Razor blade
Masking tape
Spray bottle filled with soapy water
Step-by-Step Instructions:
1. Clean the Lights:
Thoroughly clean the lights with isopropyl alcohol and microfiber cloths to remove any grease, dirt, or contaminants.
Ensure the surface is completely dry before proceeding.
2. Measure and Cut:
Carefully measure the lights and cut the film to size. Leave a small margin around the edges for easier handling.
If you're using pre-cut kits, ensure they fit precisely.
3. Prepare the Work Area:
Park your vehicle in a shaded area to prevent the film from drying too quickly.
Use masking tape to cover any areas you don't want the film to adhere to, such as the body of the car or trim pieces.
4. Spray the Lights:
Lightly mist the surface of the lights with soapy water. This will create a slippery surface that allows you to reposition the film if necessary.
5. Apply the Film:
Peel off the backing paper from the film, exposing the adhesive side.
Carefully align the film with the light and slowly apply it, starting from the center and working your way outwards.
Use a squeegee to smooth out any bubbles or wrinkles, working from the center to the edges.
6. Trim Excess Film:
Once the film is fully adhered, use a razor blade to carefully trim away any excess film around the edges. Be cautious not to scratch the light.
7. Heat the Film:
Use a heat gun to gently heat the film, activating the adhesive and ensuring a secure bond. Be careful not to overheat the film, as this can cause it to warp or discolor.
8. Remove Excess Water:
Use a microfiber cloth to remove any remaining soapy water from the film and the surrounding area.
9. Inspect and Adjust:
Inspect the film for any imperfections and make any necessary adjustments.
Tips for a Successful Installation:
Work in a Clean Environment: A dust-free environment will help prevent debris from getting trapped under the film.
Take Your Time: Rushing the installation process can lead to mistakes.
Practice on a Scrap Piece: Practice applying the film to a scrap piece of plastic to get a feel for the process before working on your vehicle.
Consider Professional Installation: If you're unsure about your DIY skills, consider having a professional installer apply the film.
Additional Considerations:
Legal Regulations: Check your local laws and regulations regarding tinting headlights and taillights. Some areas have restrictions on the level of tint allowed.
Film Quality: Choose a high-quality car light film that is specifically designed for automotive applications.
Maintenance: To maintain the appearance and longevity of your car light film, avoid using harsh chemicals or abrasive cleaners.
By following these steps and taking the necessary precautions, you can successfully install car light films and enhance the look of your vehicle.
