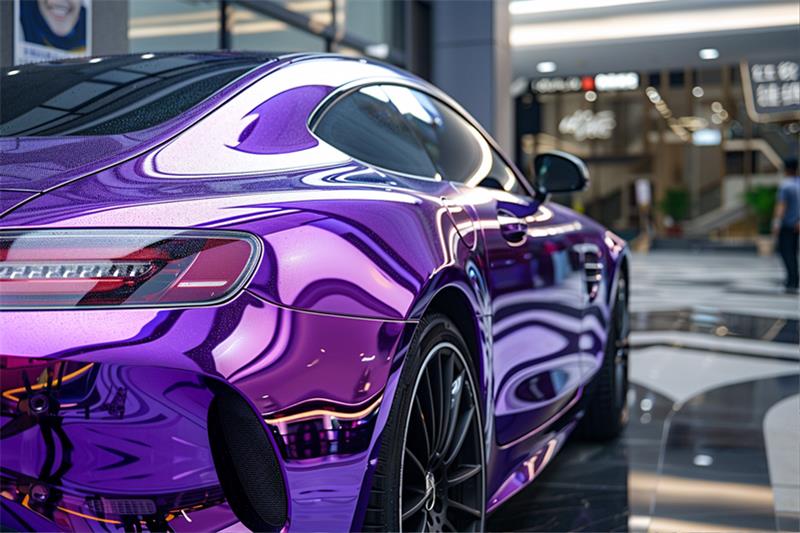
PVC paper base color change car wrap vinyl has become a popular choice for transforming the appearance of vehicles. However, when it comes time to remove the wrap, it's crucial to follow proper procedures to avoid damaging the vehicle's paint or the wrap itself. Here's a comprehensive guide on how to remove car wrap vinyl safely and effectively.
Gather the Necessary Tools and Materials
Before you begin, ensure you have the following tools and materials:
Heat Gun: A heat gun is essential for softening the adhesive and making the removal process easier.
Plastic Scraper: A plastic scraper, specifically designed for car wrap removal, is ideal for gently lifting the wrap without scratching the paint.
Adhesive Remover: A solvent-based adhesive remover can help dissolve stubborn adhesive residue.
Microfiber Cloths: Microfiber cloths are soft and lint-free, making them perfect for cleaning and polishing the vehicle's surface.
Rubber Gloves: Protect your hands from chemicals and sharp edges by wearing rubber gloves.
Safety Glasses: Protect your eyes from flying debris by wearing safety glasses.
Preparing the Vehicle
1. Park in a Shaded Area: Choose a well-lit, shaded area to work, as direct sunlight can make the removal process more difficult.
2. Wash and Dry the Vehicle: Thoroughly wash the vehicle with mild soap and water to remove any dirt or debris that could scratch the paint during the removal process. Dry the vehicle completely using a clean microfiber cloth.
3. Protect Surrounding Areas: Cover nearby areas, such as windows, headlights, and taillights, with masking tape or painter's tape to prevent damage from the heat gun or adhesive remover.
Removing the Car Wrap Vinyl
1. Soften the Adhesive: Use the heat gun to soften the adhesive on a small section of the wrap. Hold the heat gun about 6-8 inches away from the surface and move it slowly back and forth to avoid overheating.
2. Peel the Wrap: Gently peel the softened wrap away from the vehicle's surface using the plastic scraper. Maintain a low angle to minimize the risk of scratching the paint.
3. Remove Adhesive Residue: Once the wrap is removed, use adhesive remover and a microfiber cloth to remove any remaining adhesive residue. Apply a small amount of adhesive remover to the cloth and gently rub it over the area until the residue is gone.
4. Clean and Polish the Surface: Once all the adhesive residue is removed, wash the vehicle again with mild soap and water to remove any remaining adhesive remover. Dry the vehicle completely and polish the surface with a high-quality polish to restore its shine.
Additional Tips for Safe Removal
Work in Sections: Divide the vehicle into manageable sections and remove the wrap one section at a time.
Avoid Overheating: Be cautious when using the heat gun, as overheating can damage the wrap or the vehicle's paint.
Use Proper Pressure: Apply firm but gentle pressure with the scraper to avoid scratching the paint.
Test Adhesive Remover in an Inconspicuous Area: Before applying adhesive remover to a large area, test it in an inconspicuous spot to ensure it doesn't damage the paint.
Seek Professional Help if Needed: If you're unsure about the removal process or encounter any difficulties, consider seeking professional assistance from a qualified car wrap installer.
By following these steps and using the proper tools and techniques, you can safely remove car wrap vinyl and restore your vehicle to its original appearance. Remember to prioritize safety and take your time to avoid damaging the paint or the wrap itself. If you're not comfortable with the DIY approach, seeking professional help is always a viable option.