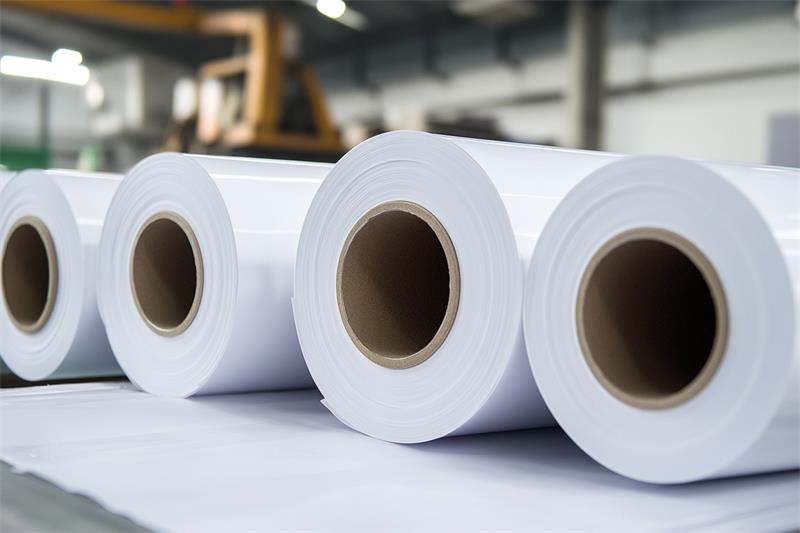
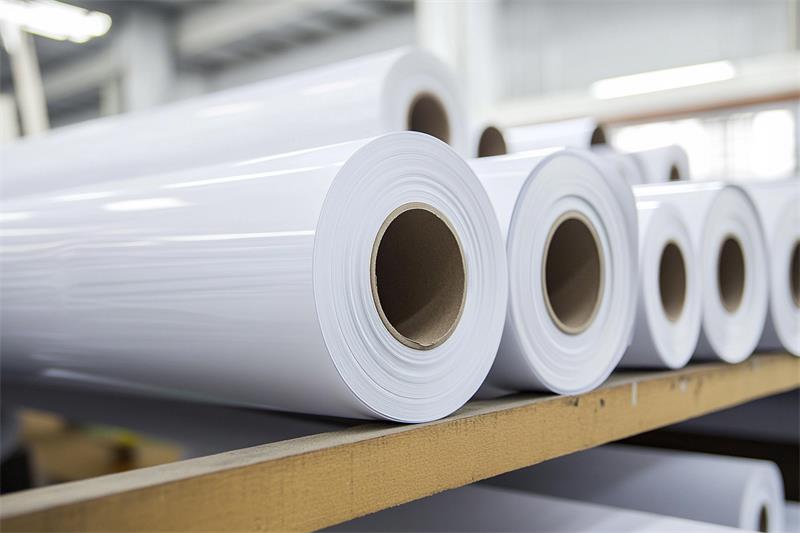
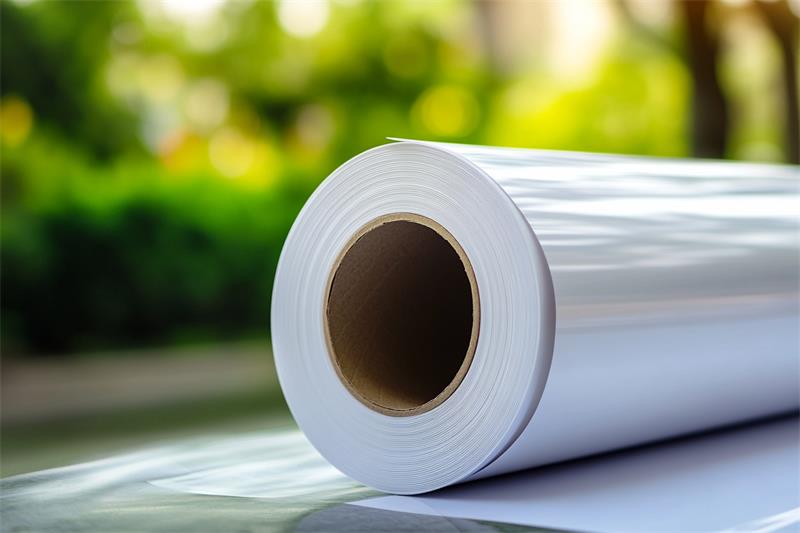
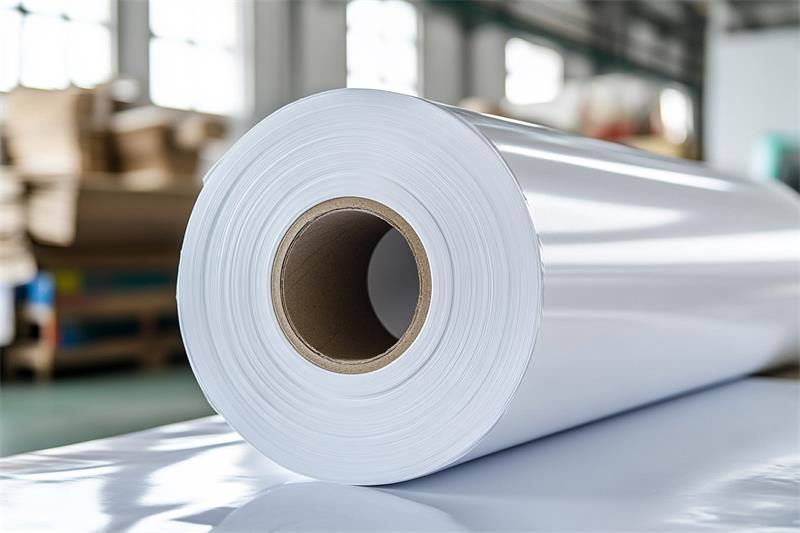
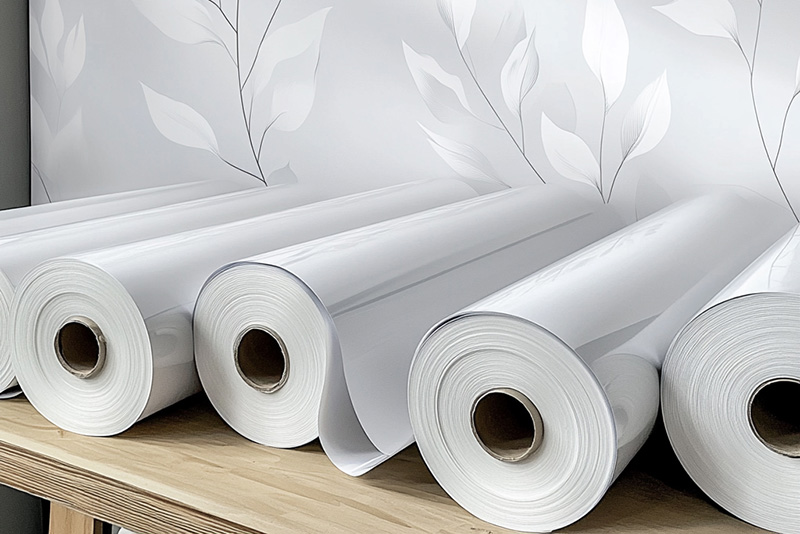
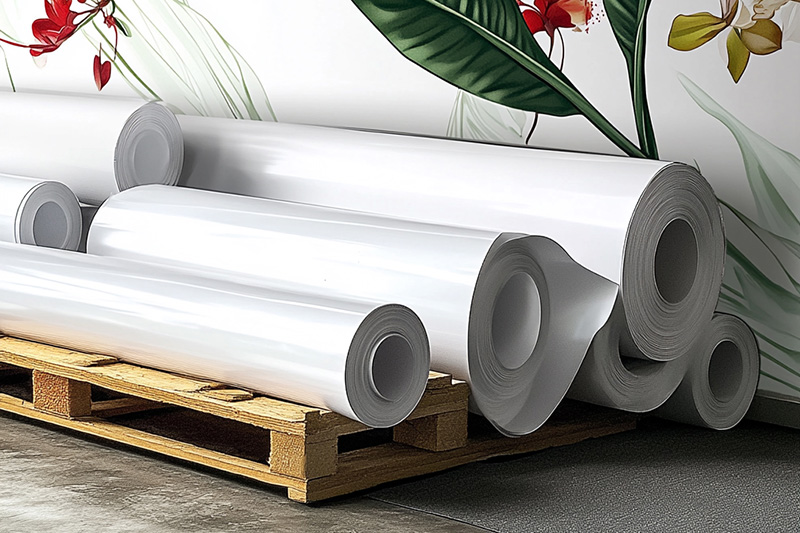
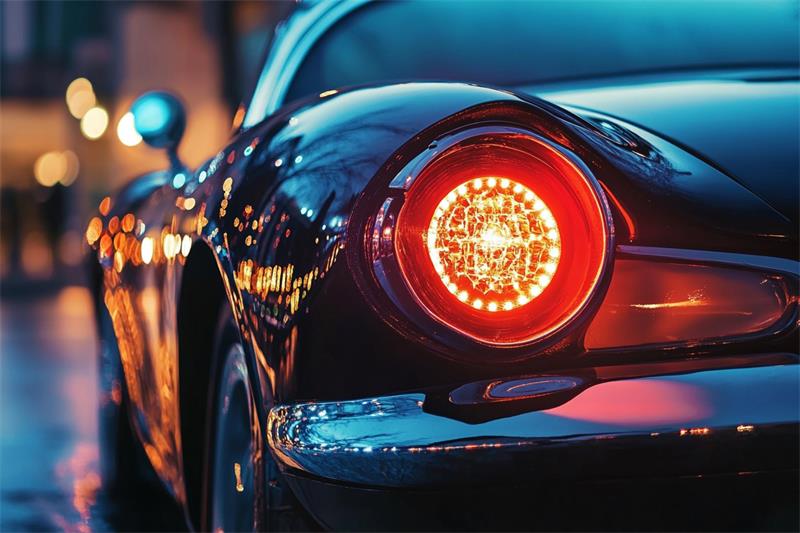
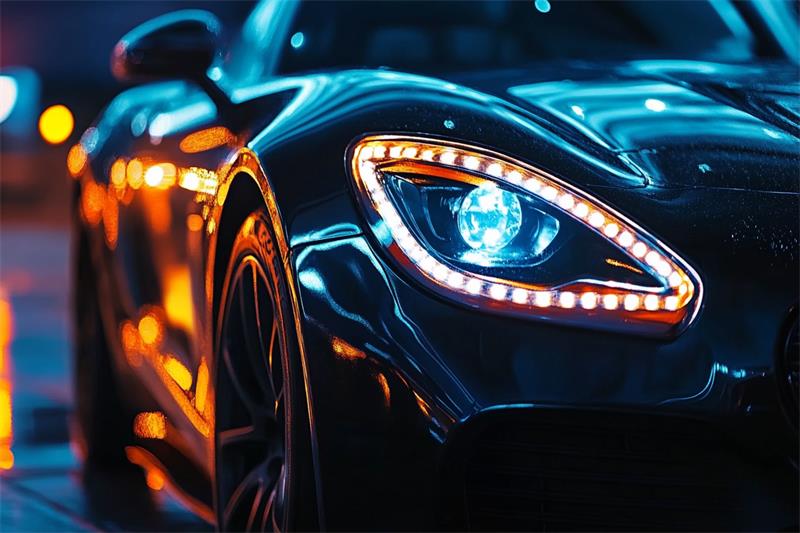
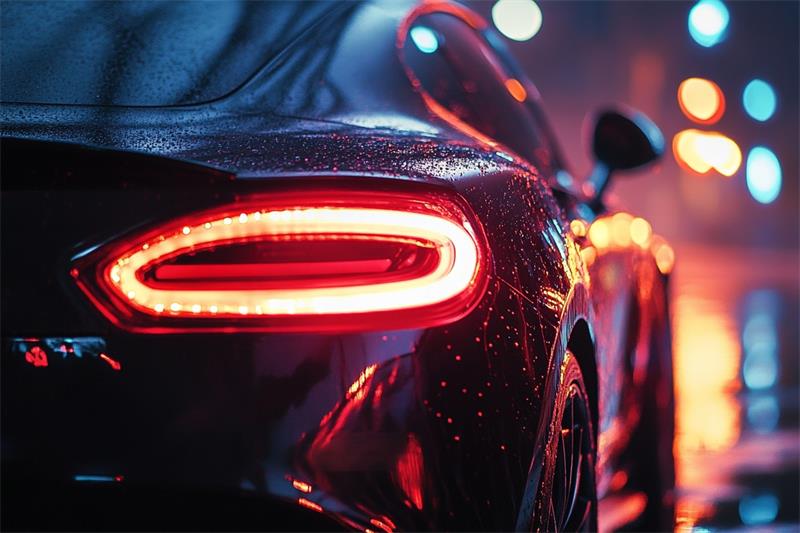
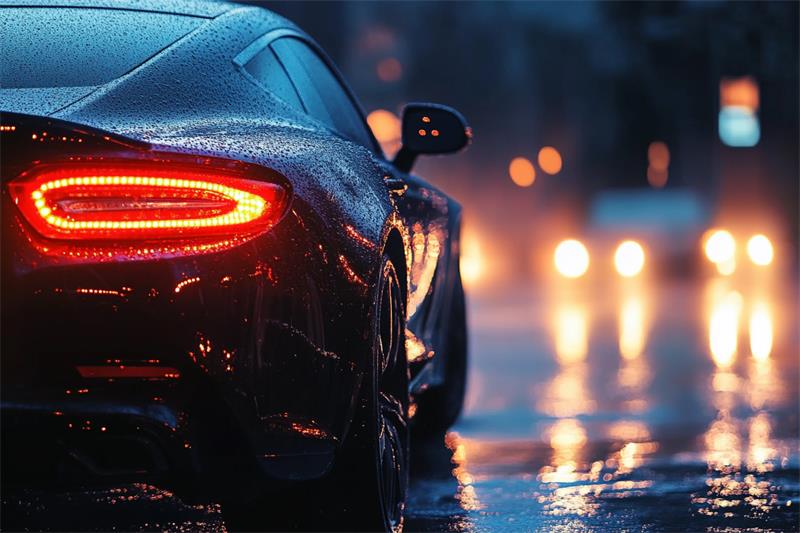
Printable self-adhesive vinyl has revolutionized the world of window display design, offering a versatile and cost-effective solution for businesses to create eye-catching and dynamic visual displays. With its unique properties and endless possibilities, this versatile material has become a staple in the retail and commercial design industry.
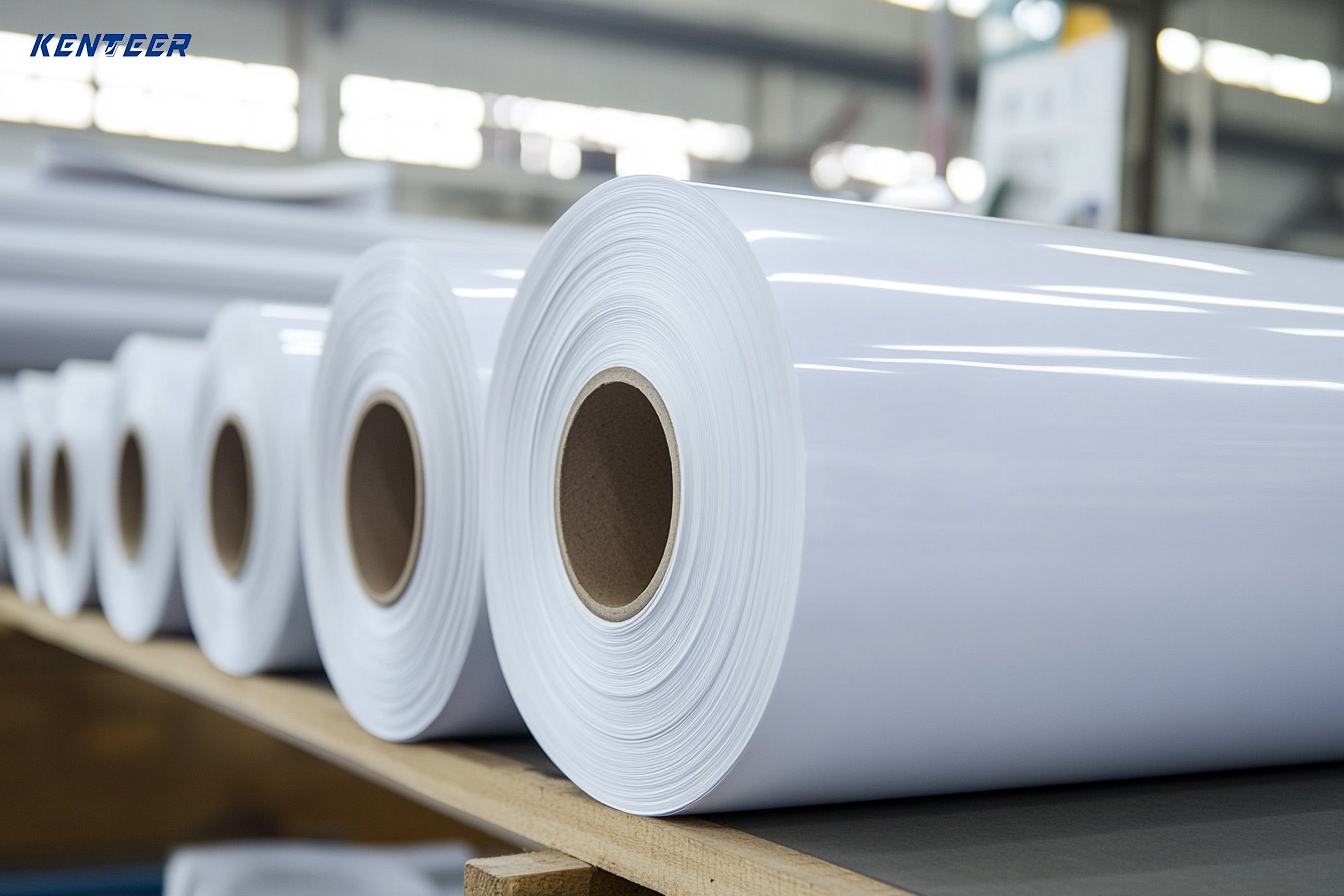
Printable Self-Adhesive Vinyl

Understanding Printable Self-Adhesive Vinyl

Printable self-adhesive vinyl is a thin, flexible sheet of PVC material coated with a pressure-sensitive adhesive. This adhesive allows the vinyl to be easily applied to a variety of surfaces, including glass, metal, and plastic. The vinyl is also printable, meaning that it can be customized with high-quality graphics, text, and images using large-format digital printers.

Applications in Window Display Design

1. Full-Color Graphics: Printable vinyl allows businesses to create stunning full-color graphics that showcase their products or services. From vibrant illustrations to realistic photographs, the possibilities are endless.

2. Text and Logos: Vinyl graphics can be used to create eye-catching text and logos that convey important information to passersby.

3. Promotional Campaigns: Businesses can use vinyl graphics to promote seasonal sales, new products, or special events.

4. Privacy Screens: Frosted or perforated vinyl can be used to create privacy screens while still allowing natural light to pass through.

5. Decorative Elements: Printable vinyl can be used to add decorative elements to window displays, such as patterns, textures, and backgrounds.

6. Seasonal Displays: Businesses can easily update their window displays to reflect seasonal changes or holidays using printable vinyl.

7. Wayfinding: Vinyl graphics can be used to create directional signage and wayfinding elements.

Tips for Successful Window Display Design with Printable Vinyl

High-Quality Graphics: Invest in high-resolution graphics to ensure that your vinyl displays look their best.

Proper Installation: Ensure that the vinyl is properly installed to prevent bubbles, wrinkles, or peeling.

Consider the Viewing Angle: When designing your graphics, consider the viewing angle from the street.

Maintain Consistency: Your window displays should be consistent with your overall branding and marketing efforts.

Update Regularly: Keep your window displays fresh and engaging by updating them regularly.

Printable self-adhesive vinyl has transformed the way businesses approach window display design. Its versatility, durability, and cost-effectiveness make it an ideal choice for creating eye-catching and impactful visual displays. By understanding the benefits and applications of this material, businesses can effectively leverage printable vinyl to enhance their brand visibility and attract customers.

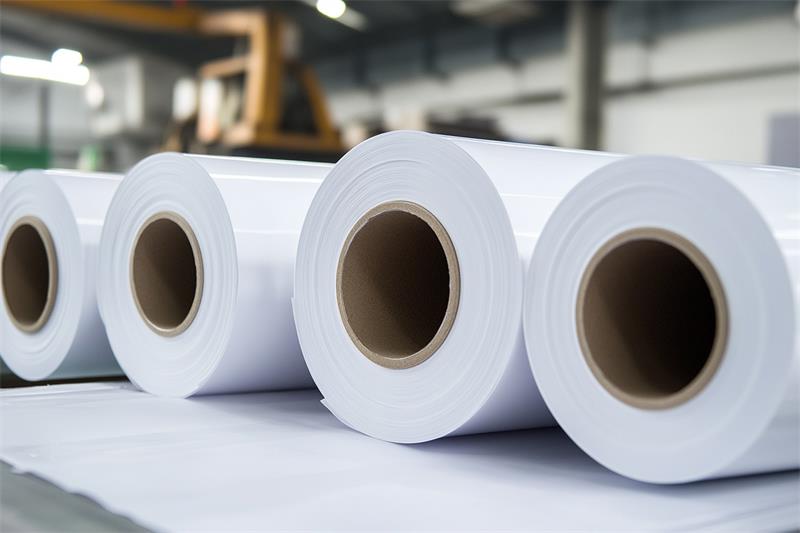
Printable self-adhesive vinyl has become increasingly popular for a wide range of applications, from vehicle wraps to wall graphics. However, even the most experienced installers can encounter challenges during the installation process. This article will discuss some of the most common issues and provide solutions to ensure a successful installation.

Printable self-adhesive vinyl

Understanding the Basics of Printable Self-Adhesive Vinyl

Printable self-adhesive vinyl consists of a printable face film, a pressure-sensitive adhesive, and a liner. The printable face film is the visible layer that accepts ink, while the adhesive allows the vinyl to adhere to various surfaces. The liner protects the adhesive until the vinyl is ready to be applied.

Common Installation Issues and Solutions

1. Bubbling:

Causes: Trapped air, improper application techniques, or surface imperfections.

Solutions:

Ensure the surface is clean, dry, and free of contaminants.

Use a squeegee to smooth out the vinyl and expel any air bubbles.

For stubborn bubbles, carefully pierce the bubble with a needle and smooth out the area.

2. Wrinkling:

Causes: Overstretching the vinyl, improper heat application, or uneven surface.

Solutions:

Avoid overstretching the vinyl.

Use a heat gun to soften the vinyl and make it more pliable.

Ensure the surface is flat and smooth.

3. Lifting at Edges:

Causes: Insufficient adhesion, contamination on the surface, or improper trimming.

Solutions:

Clean the surface thoroughly before application.

Use a heat gun to reactivate the adhesive and press down on the lifted edges.

Trim the vinyl close to the edges to prevent lifting.

4. Color Mismatch:

Causes: Incorrect color profile settings, variation in printing conditions, or fading due to UV exposure.

Solutions:

Use a calibrated color profile for accurate color reproduction.

Maintain consistent printing conditions.

Laminate the vinyl to protect it from UV rays and fading.

5. Adhesive Residue:

Causes: Low-quality adhesive, improper removal techniques, or environmental factors.

Solutions:

Use a high-quality adhesive remover designed for vinyl.

Test the adhesive remover on a small, inconspicuous area first.

Be patient and gently remove the residue.

Tips for Successful Installations

Surface Preparation: Ensure the surface is clean, dry, and free of contaminants.

Temperature and Humidity: Ideal conditions for vinyl application are a temperature between 65-75°F (18-24°C) and a relative humidity of 40-60%.

Cutting and Weeding: Use a sharp blade to cut the vinyl and remove the excess material.

Application Techniques: Use a squeegee to apply the vinyl, working from the center outwards to remove air bubbles.

Overlapping: Overlap the edges of the vinyl slightly to ensure a seamless finish.

Post-Installation Care: Protect the vinyl from excessive heat, moisture, and chemicals.

Choosing the Right Printable Self-Adhesive Vinyl

Selecting the appropriate printable self-adhesive vinyl is crucial for a successful installation. Consider the following factors:

Adhesive: Choose an adhesive that is suitable for the surface you are applying the vinyl to.

Thickness: The thickness of the vinyl will affect its durability and flexibility.

Finish: Matte, glossy, or textured finishes are available to suit different applications.

Color Range: Ensure the vinyl offers a wide range of colors to match your design.

By understanding the common issues associated with Printable self-adhesive vinyl installations and following these tips, you can achieve professional-looking results and extend the life of your graphics.

In today's visually-driven world, businesses are constantly seeking innovative ways to capture attention and stand out from the competition. One such medium that has gained significant traction in the advertising and marketing industry is printable self-adhesive vinyl. This versatile material offers a multitude of benefits, making it an increasingly popular choice for businesses of all sizes.

Printable self-adhesive vinyl

What is Printable Self-Adhesive Vinyl?

Printable self-adhesive vinyl is a flexible, durable material that can be printed upon with high-quality graphics and images. It features a strong adhesive backing that allows it to adhere to a wide range of surfaces, including glass, metal, and plastic. The versatility of this material, combined with its affordability and ease of application, has made it a go-to choice for many businesses looking to enhance their branding and marketing efforts.

Benefits of Printable Self-Adhesive Vinyl

Versatility: Printable self-adhesive vinyl can be used for a wide range of applications, including vehicle wraps, window graphics, floor graphics, wall murals, and point-of-sale displays.

Durability: This material is highly durable and can withstand exposure to various weather conditions, making it suitable for both indoor and outdoor use.

Customizability: Printable self-adhesive vinyl can be customized to meet any specific design requirements, allowing businesses to create unique and eye-catching graphics.

Cost-Effective: Compared to traditional advertising methods, printable self-adhesive vinyl offers a cost-effective solution for businesses of all sizes.

Easy Installation: The self-adhesive backing makes it easy to install, and the material can be removed without leaving any residue.

Applications of Printable Self-Adhesive Vinyl in Advertising and Marketing

Vehicle Wraps: Vehicle wraps are a highly effective way to turn a vehicle into a mobile billboard, increasing brand visibility and awareness.

Window Graphics: Window graphics can be used to create eye-catching displays that attract customers and convey important messages.

Floor Graphics: Floor graphics can be used to create interactive experiences, guide customers, or promote special offers.

Wall Murals: Wall murals can transform any space into a visually stunning environment and create a lasting impression on customers.

Point-of-Sale Displays: Point-of-sale displays can be used to highlight products, promotions, and seasonal events.

Factors Driving the Growth of Printable Self-Adhesive Vinyl

Digital Printing Technology: Advances in digital printing technology have made it easier and more affordable to produce high-quality, full-color graphics on printable self-adhesive vinyl.

Increased Demand for Visual Marketing: Consumers are increasingly drawn to visually appealing content, making printed graphics a powerful marketing tool.

Sustainability: Many printable self-adhesive vinyl products are now available in eco-friendly options, appealing to businesses that prioritize sustainability.

Economic Benefits: Printable self-adhesive vinyl offers a cost-effective way to reach a wide audience and generate brand awareness.

Printable self-adhesive vinyl has emerged as a versatile and effective tool for businesses looking to enhance their advertising and marketing efforts. Its durability, customizability, and affordability have made it a popular choice for a wide range of applications. As digital printing technology continues to evolve, we can expect to see even more innovative and creative uses for this versatile material.

Printable self-adhesive vinyl has become increasingly popular for a wide range of applications, from crafting and signage to vehicle wraps. This versatile material allows for the creation of custom designs and graphics that can be easily applied to various surfaces. But with so many types of printable vinyl available, choosing the right one for your project can be overwhelming. Let's explore some of the most common types, focusing on PVC and PET, and highlighting their unique characteristics.

Printable Self-Adhesive Vinyl

PVC Vinyl

PVC (Polyvinyl Chloride) is one of the most widely used types of printable self-adhesive vinyl. Its popularity can be attributed to its affordability, durability, and versatility. PVC vinyl is available in a variety of finishes, including gloss, matte, and textured, and can be printed with both solvent and eco-solvent inks.

Key characteristics of PVC vinyl:

Affordability: PVC is generally more cost-effective compared to other types of printable vinyl.

Durability: PVC offers good durability and resistance to moisture, making it suitable for both indoor and outdoor applications.

Versatility: Available in a wide range of colors, finishes, and thicknesses, PVC vinyl can be used for a variety of projects.

Environmental concerns: PVC production can have environmental implications due to the release of harmful chemicals.

PET Vinyl

PET (Polyethylene Terephthalate) is another popular choice for printable self-adhesive vinyl. PET vinyl is known for its superior quality, clarity, and dimensional stability. It is often used for high-end applications where image quality and durability are paramount.

Key characteristics of PET vinyl:

Superior image quality: PET vinyl offers excellent image clarity and color reproduction, making it ideal for applications that require fine detail.

Dimensional stability: PET vinyl is less prone to shrinking or stretching compared to PVC, ensuring that your printed graphics remain sharp and clear over time.

Chemical resistance: PET vinyl is resistant to a wide range of chemicals, making it suitable for use in harsh environments.

Higher cost: PET vinyl is generally more expensive than PVC vinyl due to its superior qualities.

Other Types of Printable Vinyl

In addition to PVC and PET, there are several other types of printable vinyl available, each with its own unique properties:

PP (Polypropylene) Vinyl: PP vinyl is known for its flexibility and resistance to chemicals and moisture. It is often used for outdoor applications, such as vehicle wraps and floor graphics.

Cast Vinyl: Cast vinyl is a high-quality vinyl with a thicker calendered face film. It offers exceptional durability and is often used for long-term outdoor applications.

Removable Vinyl: Removable vinyl is designed to be easily removed without leaving any residue. It is ideal for temporary signage and promotional materials.

Choosing the Right Printable Vinyl

When selecting the right printable vinyl for your project, consider the following factors:

Application: Where will the vinyl be used? Indoor or outdoor?

Durability: How long do you need the graphics to last?

Image quality: How important is image clarity and color accuracy?

Budget: What is your budget for the project?

By carefully considering these factors, you can choose the most suitable type of printable vinyl for your specific needs.

In conclusion, PVC and PET are two of the most widely used types of Printable self-adhesive vinyl, each offering unique advantages and disadvantages. By understanding the characteristics of these materials, you can make an informed decision and select the best vinyl for your project.

Printable self-adhesive vinyl has revolutionized the way we decorate our homes and businesses. This versatile material allows for the creation of custom wall murals, decals, and other decorative elements with stunning results. Whether you're a professional designer or a DIY enthusiast, this guide will walk you through the process of using printable vinyl to create your own unique wall art.

Printable Self-Adhesive Vinyl

Choosing the Right Vinyl

The first step in creating a successful wall mural or decal is selecting the appropriate printable self-adhesive vinyl. Consider the following factors when making your choice:

Adhesive Strength: Ensure that the vinyl has a strong adhesive that will adhere securely to your chosen surface.

Durability: For high-traffic areas, opt for vinyl with a durable finish that can withstand wear and tear.

Print Quality: The quality of the vinyl will directly impact the appearance of your final product. Choose a vinyl that produces vibrant colors and sharp images.

Surface Compatibility: Different types of vinyl are designed for specific surfaces. Ensure that the vinyl you choose is compatible with your wall or other surface.

Designing Your Image

Once you have selected the right vinyl, it's time to design your image. There are several software options available, both free and paid, that allow you to create custom designs. Consider the following tips when designing your image:

Scale: Ensure that your design is scaled correctly to fit the intended space.

Resolution: Use high-resolution images to ensure the best print quality.

Color Profile: Use a color profile that is compatible with your printer to achieve accurate color reproduction.

Simplicity: For complex designs, consider breaking them down into smaller, more manageable sections.

Printing Your Design

Once your design is complete, it's time to print it onto the printable vinyl. You can use a professional printing service or print the design yourself using a large-format printer. When printing, be sure to:

Calibrate Your Printer: Calibrate your printer to ensure accurate color reproduction.

Use High-Quality Ink: Invest in high-quality ink to achieve vibrant colors and sharp images.

Print Slowly: Printing slowly allows the ink to dry properly and prevents smudging.

Preparing the Surface

Before applying the vinyl to your wall, ensure that the surface is clean, dry, and smooth. Remove any dirt, grease, or imperfections that could affect the adhesion of the vinyl.

Applying the Vinyl

1. Measure and Cut: Carefully measure the wall space and cut the vinyl to the desired size.

2. Peel the Backing: Peel back a small portion of the backing paper to expose the adhesive.

3. Position the Vinyl: Carefully position the vinyl on the wall, ensuring it is straight and level.

4. Smooth Out Bubbles: Use a squeegee or a soft cloth to smooth out any bubbles or wrinkles.

5. Trim Excess Vinyl: Trim any excess vinyl with a utility knife.

Caring for Your Vinyl Mural or Decal

To ensure the longevity of your vinyl mural or decal, follow these care instructions:

Avoid Abrasive Cleaners: Use a mild cleaning solution and a soft cloth to clean the vinyl.

Protect from Direct Sunlight: Prolonged exposure to direct sunlight can cause the vinyl to fade.

Avoid High Heat: High heat can damage the vinyl, so avoid placing heat sources near the mural or decal.

Printable self-adhesive vinyl offers a versatile and affordable way to create custom wall murals and decals. By following these steps and selecting the right materials, you can create stunning and personalized decorations for your home or business.

Printable self-adhesive vinyl has long been a staple in the signage industry, offering a durable and customizable solution for creating eye-catching displays. However, the versatility of this material extends far beyond traditional signage applications. With its unique combination of durability, flexibility, and printability, printable self-adhesive vinyl has found its way into a wide range of industries and creative endeavors.

Printable Self-Adhesive Vinyl

Beyond Signage: Expanding Horizons

1. Home Decor and Personalization

Wall Art: Printable vinyl allows homeowners to create custom wall art, from simple quotes and patterns to complex murals.

Furniture Decals: Transform plain furniture pieces by adding personalized decals or creating a faux finish.

Window Graphics: Enhance privacy and add style to windows with custom vinyl graphics.

Floor Decals: Create temporary or permanent floor markings for various purposes, such as game areas or directional signage.

2. Craft and DIY Projects

Scrapbooking: Add a unique touch to scrapbooks with custom-printed vinyl embellishments.

Card Making: Create personalized cards and invitations with intricate designs.

Tumbler Customization: Design and apply custom graphics to tumblers and water bottles.

Phone Cases: Personalize phone cases with photos, quotes, or artwork.

3. Automotive Customization

Vehicle Wraps: While full vehicle wraps are common, printable vinyl can also be used for smaller accents, such as window graphics or hood decals.

Interior Customization: Personalize car interiors with custom-printed dashboard covers or door panels.

4. Product Labeling and Packaging

Product Labels: Create custom labels for products, providing essential information and enhancing brand identity.

Packaging Graphics: Add visual appeal to product packaging with printed vinyl graphics.

5. Educational Materials

Flashcards and Posters: Create educational materials such as flashcards, posters, and charts with vibrant, durable vinyl.

Key Benefits of Printable Self-Adhesive Vinyl

Durability: Printable vinyl is resistant to water, UV rays, and chemicals, ensuring long-lasting results.

Versatility: It can be applied to a wide range of surfaces, including glass, metal, plastic, and wood.

Customization: With the ability to print custom designs, the possibilities are endless.

Ease of Application: Most printable vinyl is easy to apply and remove, making it a great choice for both DIY and professional applications.

Cost-Effective: Compared to traditional printing methods, printable vinyl often offers a more cost-effective solution.

Choosing the Right Printable Vinyl

When selecting printable self-adhesive vinyl, consider the following factors:

Adhesive: Choose an adhesive that is appropriate for the surface and the intended use.

Thickness: The thickness of the vinyl will affect its durability and flexibility.

Finish: Vinyl is available in a variety of finishes, including gloss, matte, and textured.

Compatibility with Printers: Ensure that the vinyl is compatible with your printer and ink.

printable self-adhesive vinyl has revolutionized the way we create and customize. Beyond its traditional use in signage, this versatile material has found countless applications in home decor, crafts, automotive customization, product labeling, and education. With its durability, customization options, and ease of use, printable vinyl continues to be a popular choice for both professionals and DIY enthusiasts.

Printable self-adhesive vinyl has become a versatile material used for various applications, from vehicle wraps to signage and decals. The durability and longevity of this material depend on several factors, including the type of vinyl, the quality of the print, and environmental conditions. Understanding these factors is essential for making informed decisions when selecting vinyl for specific projects.

Printable Self-Adhesive Vinyl

Understanding Printable Self-Adhesive Vinyl

Printable self-adhesive vinyl is a flexible, synthetic material coated with an adhesive backing. It's available in various thicknesses and finishes, each designed for specific applications. The most common types include:

Calendered Vinyl: This is the most affordable option and is suitable for short-term indoor applications. It has a smooth surface and is easy to print on.

Cast Vinyl: More durable than calendered vinyl, cast vinyl is ideal for outdoor applications and can last for several years. It has a thicker gauge and a more conformable surface.

Factors Affecting the Lifespan of Printable Vinyl

Several factors contribute to the durability and longevity of printable self-adhesive vinyl:

Material Quality:

Thickness: Thicker vinyl generally offers better durability and resistance to tearing.

Adhesive Strength: A strong adhesive ensures that the vinyl adheres securely to the surface and resists peeling.

UV Resistance: Vinyl with UV protection is essential for outdoor applications, as it prevents fading and color degradation.

Printing Quality:

Ink Type: Solvent-based inks are generally more durable and fade-resistant than eco-solvent or latex inks.

Print Resolution: Higher print resolution results in sharper images and better overall appearance.

Application and Installation:

Surface Preparation: Proper surface preparation, including cleaning and priming, is crucial for optimal adhesion.

Installation Techniques: Proper installation techniques, such as using a squeegee to remove air bubbles, can significantly extend the lifespan of the vinyl.

Environmental Conditions:

Weather: Exposure to extreme temperatures, humidity, and UV radiation can accelerate the degradation of vinyl.

Chemicals: Exposure to chemicals, such as solvents or cleaners, can damage the vinyl's surface and adhesive.

Tips for Extending the Lifespan of Printable Vinyl

Choose the Right Vinyl: Select a vinyl that is specifically designed for the intended application and environment.

Proper Installation: Ensure that the vinyl is installed correctly, with no air bubbles or wrinkles.

Protect from UV Rays: If the vinyl will be exposed to direct sunlight, consider using a UV-resistant laminate to protect the print.

Regular Cleaning: Clean the vinyl regularly with a mild soap and water solution to remove dirt and debris.

Avoid Harsh Chemicals: Avoid using harsh chemicals or abrasive cleaners that can damage the vinyl.

The durability and longevity of printable self-adhesive vinyl can vary significantly depending on several factors. By carefully considering the material, print quality, installation, and environmental conditions, you can choose the right vinyl for your project and ensure that it provides long-lasting results.

Car light film, a relatively new addition to the automotive aftermarket, has rapidly gained popularity due to its ability to customize the appearance and performance of vehicle lighting. As technology advances and consumer preferences evolve, the future of car light film looks promising, with several key trends emerging.

Car light film

1. Advanced Materials and Enhanced Performance

Nanotechnology: The integration of nanotechnology will lead to car light films with enhanced properties such as improved heat resistance, increased durability, and superior optical clarity.

Smart Materials: The development of smart materials will enable car light films to adapt to changing conditions, such as automatically adjusting tint based on ambient light levels.

Self-healing Coatings: Films with self-healing coatings will be able to repair minor scratches and damage, extending their lifespan.

2. Customization and Personalization

Infinite Color Options: Advances in printing technology will allow for virtually limitless color options and custom designs, enabling car owners to create truly unique lighting signatures.

Dynamic Patterns: Car light films with dynamic patterns and animations will become more common, allowing for personalized light shows and enhanced visibility.

Interactive Elements: The integration of interactive elements, such as touch-sensitive or temperature-responsive films, will create a more engaging and immersive driving experience.

3. Integration with Vehicle Technology

ADAS Compatibility: Car light films will be designed to be compatible with advanced driver-assistance systems (ADAS), enhancing safety and visibility.

Connectivity: Films may be integrated with vehicle networks, allowing for remote control, customization, and diagnostics.

Energy Efficiency: The development of energy-efficient films will reduce the power consumption of vehicle lighting systems, contributing to improved fuel economy.

4. Regulatory Compliance and Safety Standards

Stricter Regulations: As car light film technology advances, regulatory bodies will likely introduce stricter standards to ensure safety and prevent glare.

Certification and Testing: Manufacturers will be required to meet rigorous certification and testing standards to ensure their products comply with relevant regulations.

5. Environmental Considerations

Sustainable Materials: The automotive industry is increasingly focused on sustainability, and car light film manufacturers will be expected to use environmentally friendly materials and production processes.

Recyclability: Future car light films will be designed with recyclability in mind, reducing their environmental impact.

6. Niche Markets and Applications

Off-road Vehicles: Specialized films will be developed for off-road vehicles, offering enhanced visibility and durability in challenging conditions.

Classic Cars: Retro-inspired films will allow owners of classic cars to customize their vehicles while maintaining their original aesthetic.

Commercial Vehicles: Car light films will find applications in commercial vehicles, such as trucks and buses, for improved safety and branding.

Challenges and Opportunities

While the future of car light film looks bright, several challenges must be addressed:

Cost: Advanced materials and technologies can increase the cost of car light films, potentially limiting their adoption.

Installation Complexity: Installing complex, multi-layered films may require specialized skills and equipment.

Durability: Ensuring the long-term durability and performance of car light films in various weather conditions and environments will be a key challenge.

Despite these challenges, the potential benefits of Car light film  are significant. As technology continues to advance and consumer demand for customization grows, car light film is poised to become an integral part of the automotive aftermarket.

In conclusion, the future of car light film is characterized by innovation, personalization, and a strong focus on safety and sustainability. As technology continues to evolve, we can expect to see even more exciting developments in this field, transforming the way we perceive and interact with our vehicles.

Car light film has become an increasingly popular aftermarket modification, promising enhanced aesthetics and potential performance benefits. This film, often applied to headlights, tail lights, and fog lights, can alter the appearance of a vehicle and, in some cases, influence the performance of the lighting system. However, it's essential to understand the potential impacts of car light film on a vehicle's lighting system before making a decision.

Car light film

Enhancing Aesthetics

One of the primary reasons for applying car light film is to enhance the vehicle's aesthetics. By tinting or color-shifting the lights, owners can create a more customized and aggressive look. Some common applications include:

Tinting: Reducing the light output for a darker, more sinister appearance.

Color-shifting: Changing the color of the light to match the vehicle's paint or theme.

Smoke effect: Creating a smoky or hazy appearance for a more subtle modification.

Potential Performance Impacts

While car light film can improve a vehicle's appearance, it can also have unintended consequences on the lighting system's performance.

Reduced Light Output: Tinting or applying a dark film can significantly reduce the amount of light emitted from the headlights, compromising night visibility. This can be particularly dangerous in fog or adverse weather conditions.

Scattered Light: Some films can scatter light, causing glare and reducing the focus of the beam. This can be distracting to other drivers and reduce the effectiveness of the lighting system.

Legal Compliance: In many jurisdictions, there are regulations governing the intensity and color of vehicle lights. Applying car light film that significantly reduces light output or changes the color of the light may be illegal and could result in fines or violations.

Heat Buildup: Certain films can trap heat within the headlight assembly, potentially damaging the housing or the light source itself.

Yellowing and Discoloration: Over time, car light film can yellow or discolor, reducing its effectiveness and the overall appearance of the vehicle.

Choosing the Right Car Light Film

If you decide to use car light film, it's crucial to choose a high-quality product from a reputable manufacturer. Some factors to consider include:

Material: Opt for films made from durable materials that can withstand exposure to the elements.

Light Transmission: Consider the desired level of light reduction and ensure that the film complies with local regulations.

Heat Resistance: Choose a film that can withstand high temperatures without warping or damaging the headlight assembly.

Color Stability: Select a film with a color that is resistant to fading and discoloration over time.

In conclusion, while car light film can enhance a vehicle's appearance, it's important to weigh the potential benefits against the potential drawbacks. Factors such as reduced light output, legal compliance, and long-term durability should be carefully considered before making a decision. If you decide to proceed, choose a high-quality product and seek professional installation to ensure optimal results.

Car light film, a relatively recent automotive customization trend, has gained significant popularity among car enthusiasts seeking to enhance the appearance of their vehicles. By applying a tinted film to the headlights, taillights, or fog lights, car owners can achieve a sleek, modern, and customized look that sets their vehicle apart.

Car light filmCar light film

Why Choose Car Light Film?

Enhanced Aesthetics: One of the primary reasons for using car light film is the dramatic improvement it can bring to a vehicle's appearance. The tinted film can give headlights a smoky or darkened look, adding a touch of mystery and sophistication.

Customization: Car light film comes in various shades and tints, allowing owners to personalize their vehicle's appearance. From subtle smoke tints to bold blackouts, there's a film to suit every taste.

Protection: Beyond aesthetics, car light film offers a layer of protection for your headlights and taillights. It can help prevent yellowing, hazing, and scratches, extending the life of your lights.

UV Protection: Many car light films have UV protection properties, which can help prevent fading of the underlying plastic or glass.

Heat Reduction: Some films can also help reduce heat buildup within the headlight assembly, potentially prolonging the life of the bulbs.

Types of Car Light Film

Car light films are typically made from high-quality materials like polyurethane or vinyl, which are designed to withstand exposure to the elements. They come in various shades and tints, including:

Light Smoke: Offers a subtle enhancement to the headlight's appearance.

Medium Smoke: Provides a more noticeable change in appearance, giving the headlights a darkened look.

Dark Smoke: Creates a dramatic transformation, making the headlights appear almost blacked out.

Colored Films: Available in a variety of colors, such as blue, red, or yellow, for a more personalized look.

Considerations Before Applying Car Light Film

Local Laws and Regulations: Before applying car light film, it's important to check your local laws and regulations regarding headlight and taillight tinting. Some areas have specific restrictions on the level of tint allowed.

Visibility: Ensure that the chosen tint level does not compromise your nighttime visibility. While a darker tint may look cool, it could be dangerous if it significantly reduces the amount of light emitted.

Quality of Film: Choose a high-quality car light film from a reputable manufacturer to ensure durability and long-lasting performance.

Car light film is a fantastic way to customize your vehicle's appearance and protect your headlights and taillights. By carefully considering your options and following the proper installation procedures, you can achieve a striking and personalized look that will turn heads.

Car light films have become increasingly popular as a way to customize the appearance of a vehicle. These films come in a variety of colors and tints, each with its unique impact on the light output and overall aesthetics of the vehicle. One of the primary concerns when applying car light films is the effect on light transmittance. In this article, we will explore the influence of different color car light films on light transmittance and discuss the factors that affect this property.

Car light film

Understanding Light Transmittance

Light transmittance refers to the amount of light that passes through a material. In the context of car light films, it determines how much of the original light output from the headlights or taillights is allowed to pass through. A higher light transmittance means more light can pass through the film, while a lower transmittance means less light is allowed to pass through.

Factors Affecting Light Transmittance

Several factors influence the light transmittance of car light films:

Color: The color of the film plays a significant role in determining light transmittance. Darker colors, such as black or smoke, tend to absorb more light and have lower transmittance compared to lighter colors like yellow or blue.

Tint: The tint of the film, which refers to its darkness or lightness, also affects light transmittance. A darker tint will block more light and have a lower transmittance.

Film Thickness: The thickness of the film can impact light transmittance. Thicker films generally have lower transmittance compared to thinner films.

Film Material: The material used to manufacture the film can also affect light transmittance. Different materials have varying degrees of transparency and light absorption properties.

Impact of Different Color Car Light Films

Yellow Car Light Films: Yellow films are often used to improve visibility in foggy or rainy conditions. They have a relatively high light transmittance, allowing a significant amount of light to pass through. However, excessive yellow tint can distort color perception and may not be legal in all regions.

Blue Car Light Films: Blue films are popular for their aesthetic appeal and can give the vehicle a more modern look. They typically have a moderate light transmittance, depending on the tint.

Smoke Car Light Films: Smoke films are available in various shades and offer a subtle tinting effect. They generally have lower light transmittance compared to yellow or blue films, reducing the amount of light that passes through.

Black Car Light Films: Black films provide the darkest tint and have the lowest light transmittance. They can significantly reduce visibility, especially at night, and may not be legal for use on headlights or taillights in many jurisdictions.

Car light films can be a great way to customize the appearance of a vehicle, but it's essential to carefully consider the impact of different colors and tints on light transmittance. While darker films may offer a more aggressive look, they can also compromise visibility and safety. When choosing a car light film, it's important to balance aesthetics with functionality and adhere to local laws and regulations.

Car light films have become increasingly popular for customizing the appearance of vehicles and improving visibility. Whether you’re looking to tint your headlights, taillights, or fog lights, this step-by-step guide will walk you through the installation process.

Car light films

Materials Needed:

Car light film kit

Isopropyl alcohol

Microfiber cloths

Squeegee

Heat gun

Razor blade

Masking tape

Spray bottle filled with soapy water

Step-by-Step Instructions:

1. Clean the Lights:

Thoroughly clean the lights with isopropyl alcohol and microfiber cloths to remove any grease, dirt, or contaminants.

Ensure the surface is completely dry before proceeding.

2. Measure and Cut:

Carefully measure the lights and cut the film to size. Leave a small margin around the edges for easier handling.

If you're using pre-cut kits, ensure they fit precisely.

3. Prepare the Work Area:

Park your vehicle in a shaded area to prevent the film from drying too quickly.

Use masking tape to cover any areas you don't want the film to adhere to, such as the body of the car or trim pieces.

4. Spray the Lights:

Lightly mist the surface of the lights with soapy water. This will create a slippery surface that allows you to reposition the film if necessary.

5. Apply the Film:

Peel off the backing paper from the film, exposing the adhesive side.

Carefully align the film with the light and slowly apply it, starting from the center and working your way outwards.

Use a squeegee to smooth out any bubbles or wrinkles, working from the center to the edges.

6. Trim Excess Film:

Once the film is fully adhered, use a razor blade to carefully trim away any excess film around the edges. Be cautious not to scratch the light.

7. Heat the Film:

Use a heat gun to gently heat the film, activating the adhesive and ensuring a secure bond. Be careful not to overheat the film, as this can cause it to warp or discolor.

8. Remove Excess Water:

Use a microfiber cloth to remove any remaining soapy water from the film and the surrounding area.

9. Inspect and Adjust:

Inspect the film for any imperfections and make any necessary adjustments.

Tips for a Successful Installation:

Work in a Clean Environment: A dust-free environment will help prevent debris from getting trapped under the film.

Take Your Time: Rushing the installation process can lead to mistakes.

Practice on a Scrap Piece: Practice applying the film to a scrap piece of plastic to get a feel for the process before working on your vehicle.

Consider Professional Installation: If you're unsure about your DIY skills, consider having a professional installer apply the film.

Additional Considerations:

Legal Regulations: Check your local laws and regulations regarding tinting headlights and taillights. Some areas have restrictions on the level of tint allowed.

Film Quality: Choose a high-quality car light film that is specifically designed for automotive applications.

Maintenance: To maintain the appearance and longevity of your car light film, avoid using harsh chemicals or abrasive cleaners.

By following these steps and taking the necessary precautions, you can successfully install car light films and enhance the look of your vehicle.

Open chat
1
Scan the code
Contact With Kenteer
Hello 👋
Can I help you?